Panoramas: Part 2… How I Do It
In a previous post I discussed the role of nodal points in nailing top-notch panoramas. For a long time I didn’t bother with nodal points and that caused distortions and a lot of extra post-processing time. In fact, on several occasions it meant that I had to throw out a pano that I had painstakingly tried to capture. That can easily happen if you do a pano with a looming foreground object and have not set your nodal point.
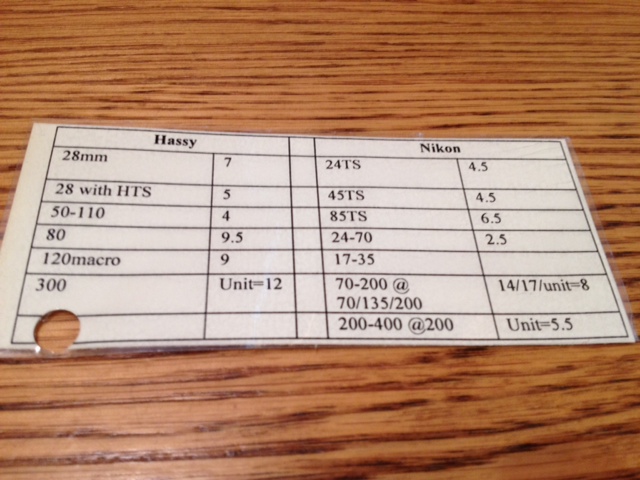
So, with my nodal points now set and printed on a card that I laminate and take with me, I’m off to the races.
The Setup
When I'm on site I get out all my gear and set up. If I'm shooting a horizontal scene, I put my camera in vertical orientation. Vice versa if I plan to shoot a tall waterfall or vertical cityscape.Next, assuming I have framed the scene I want, I first level my tripod. I’m thinking of buying a tripod leveling attachment for my ballhead, but so far in my career I have managed with just leveling my tripod by adjusting its legs and then re-leveling if I have to move it. That can get tedious pretty fast.
Once leveled I mount my chosen camera and lens onto the nodal slide attachment I own (Really Right Stuff). In turn I place this entire setup on the tripod. Now I level the nodal slide/camera unit. I also check to be sure that I have the lens positioned correctly on the slide to avoid parallax problems (that’s the nodal point). I always use a cable release for my tripod work and panos are no exception.
Now I pan right and left (or up and down if I’m shooting a vertical panorama). So far, so good, because if it isn’t that means I may have to move my tripod and level it again.
I put all my camera settings on manual. I focus, pan and focus again to get it right. I get my exposure settings where I want them. I fiddle with my graduated neutral density filters to adjust the dynamic range to where I like it. I may take a few test pictures to calibrate exposure.
Next I figure out how much overlap I want in the images. Typically I like a 30% overlap, although 20% will also work. It is entirely possible to just eyeball this overlap, but I usually resort to using the gradations on my ballhead for greater precision.
Shooting Panos At Night
There is one thing I want to mention about that panning process. If you are panning a night scene, you would do better to use the gradations etched into your ballhead mount, since eyeballing it in the dark may not be accurate.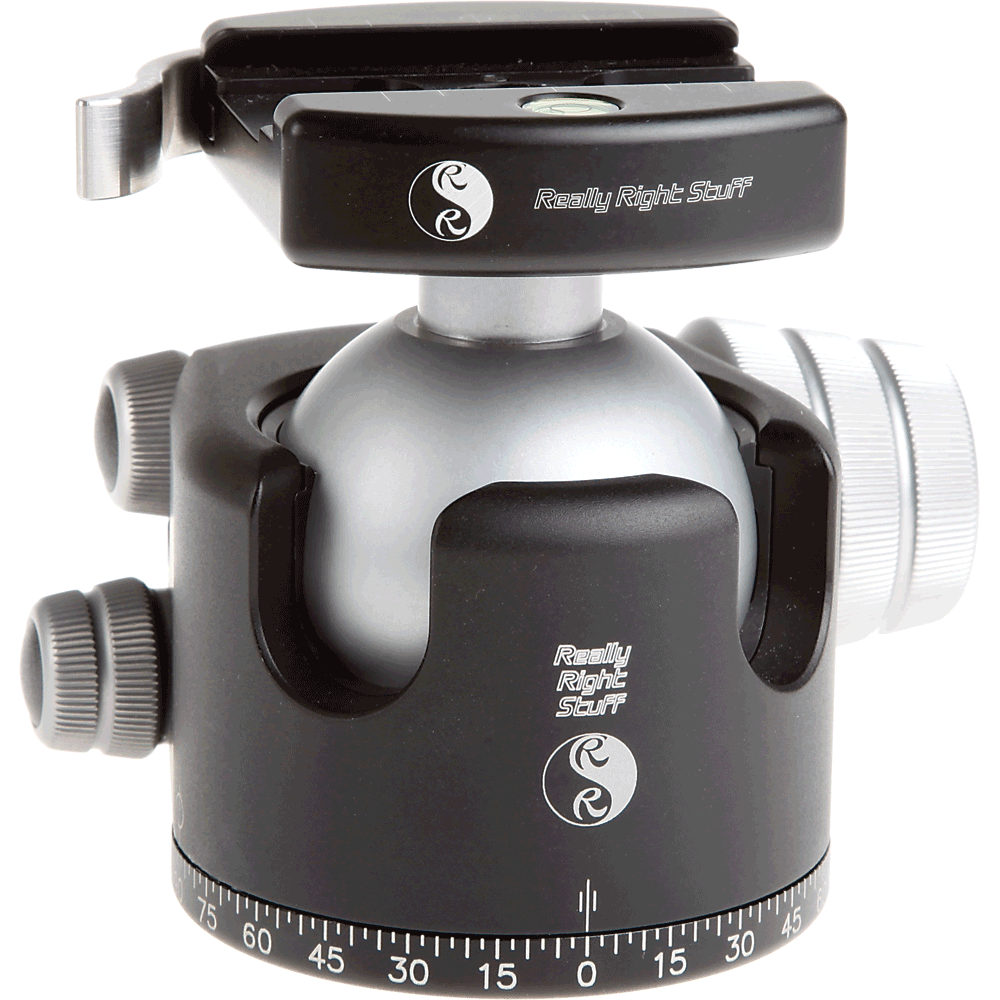
Of course using tiny gradation marks presents its own problem, since you don’t want to be accidentally shining a light from your headlamp into your lens at a critical moment. I use a headlamp with a red light just for security sake. At night I have a routine that goes something like this: focus and fiddle until right, close the back eyepiece window, flip up the mirror (to minimize camera shake), and I’m ready for the pano sequence. Press the cable release, switch on red headlamp, unlock ballhead rotation clamp, rotate ballhead x notches, turn off light, screw down ballhead rotation clamp, press cable release and repeat until the pano sequence is complete.
Man on a Mission
Once I start my pano I am like a man on mission. Don't talk to me, don't distract me, don't even get too close to me! I am clicking, shifting, retightening, and shooting again. Once I'm done with the sequence, I breathe. In my defense, I feel it's important to move quickly because of how fast light changes, clouds move, and trees sway.I always shoot the pano again, maybe varying the exposure by 1/3 or 1/2 stop. There are also times when I’ll shoot 3 images at each stop, one properly exposed, one stop over and one under. That gives Bob Boyer, my Master Printmaker, a chance to fill in some of the shaded areas with a little light from the overexposed image(s).
What is a Pano Anyway?
There is also the issue of what constitutes a pano. I'm not one to shoot huge panos, although the one of the Baltimore Harbor shown here is a collection of three rows of 14 vertical images.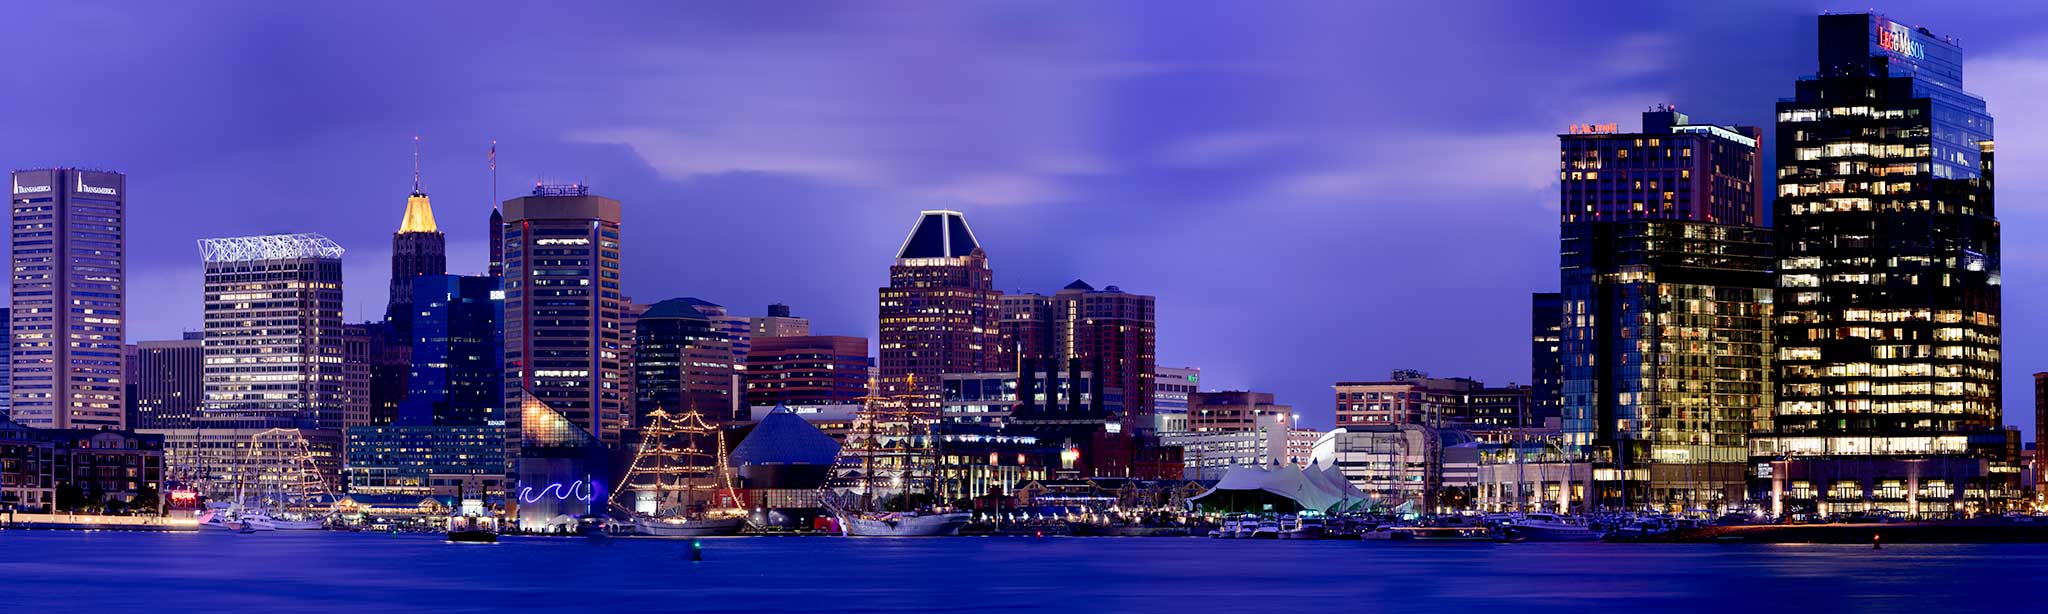
In that case I needed it for a wall covering installation that spans 29 feet! I needed every pixel I was able to lasso to get a printed image that looks good.
Sometimes I will take 3 images to build a pano. But, I’m also thinking of how I will use them. Sometimes, as with the Baltimore Harbor wall covering, I need something long and narrow. Other times I will need something nearly square for a client’s wall space (a 2-shot pano?). So, while I’m in a particular location, I’ll try various combos to afford me some flexibility.